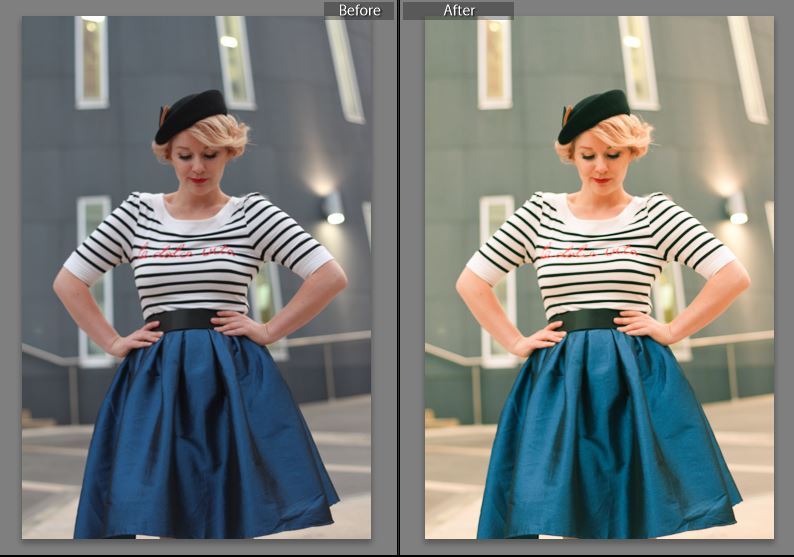
View this outfit and all the photos here.
When I started this blog, part of what I wanted to use that time for, was working on my photography hobby. While currently I don’t get as much time behind the camera as I would like, I do get all the of time in post-production I could possibly want. There are several important parts to ever blog photo series I work on. The first, and most obvious, is picking the right outfit. This is something I’ve gotten better at over time with practice, and dealing with the pictures in post-production has helped with that a lot. I’m now more consistent at getting really good outfits together than I was when I first started, I can even easily say that in the last year I have been happy with every single outfit I’ve put together.
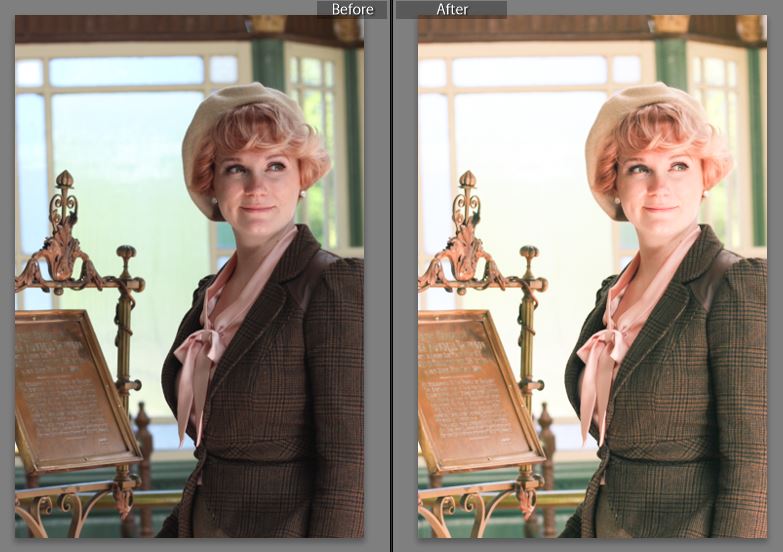
View this outfit and all the photos here.
The second part is getting what is in the frame of the camera to work. That’s a difficult one when I’m not behind the camera and I can’t see what I look like to the person doing the photography. I have gotten used to knowing how what I’m doing will translate onto the camera which means we end up with much better results. It usually ends up with a bit of back and forth seeing what we have captured so far and giving feedback to each other. The photographer might want me to move a particular way or I might see a shot I want.
View this outfit and all the photos here.
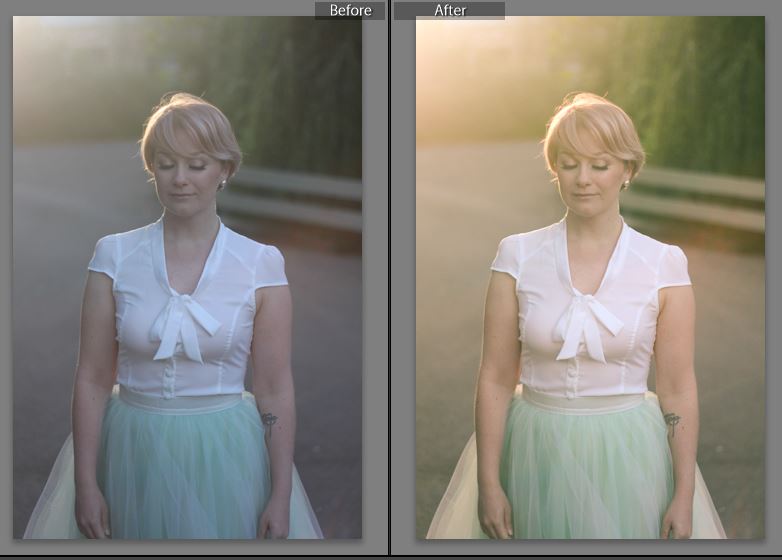
Once the photos are captured, and the best ones selected, the post production begins. This is the part where I spend time working to get the emotion I see in the image to come out clearly, so I spend time making sure the images are frames properly, focused properly, and angled properly before working with a colour theme that works really well for me. One of the foundations for a good image, for me, is getting the shadows and highlights to have the right tones. I recently read an article on why every movie in Hollywood looks teal and orange (once seen, it cannot be unseen). Not everyone is a fan. The colouring intrigued me, however so I thought I would try out teal and orange in the highlights and shadows on the image. The result was the image below, the first time I ever tried it. Above is my favourite use of this preset. I flipping love how it made the orange haze over my right shoulder become radiant. It made all the subtle colours of the shot ‘pop’.
View this outfit and all the photos here.
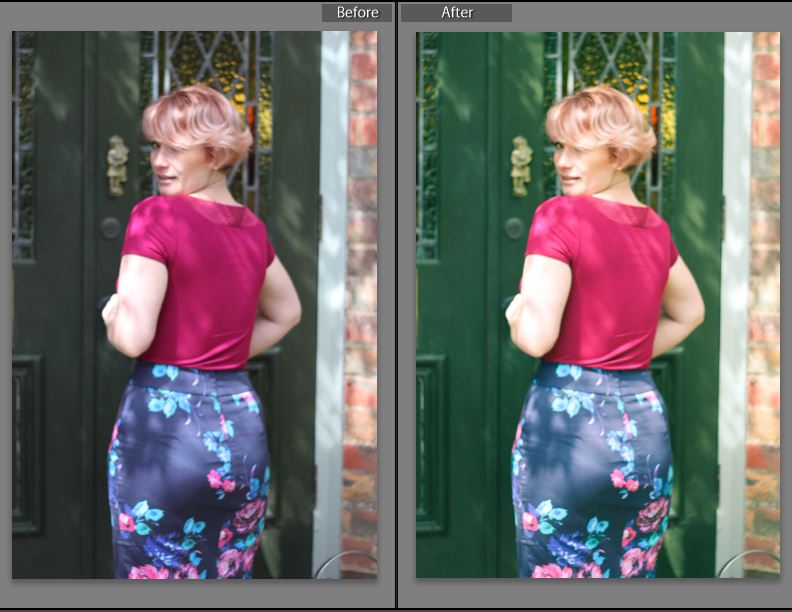
The best thing about this preset (once I tweaked it and got it right), it really made the natural colours of the image stand out. The green on the right of the above image is what I remember, and it was so dull and brown in the final image. I didn’t even notice until I put the preset on it and the green lit up.
Anyway, for those of you that are interested in having as much fun as me playing with photos, I have got a copy of this preset I made, free for you to download from my Google Drive.
Download my FREE lightroom preset here.
Enjoy!
– L
Follow: bloglovin| feedly| instagram| pinterest| facebook| tumblr| modcloth